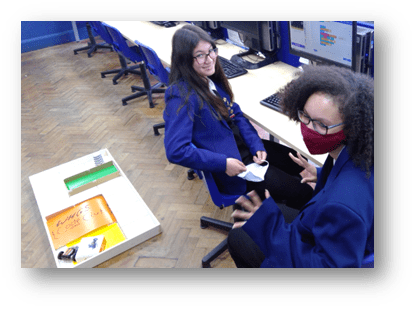
Physical Computing provides engaging, relevant, and inclusive learning experiences and helps develop programming skills while being creative and collaborative. Code makes something happen in the real-world, not just on a screen. Learners (particularly girls) find physical computing engaging.
Physical computing devices take some time to set up, and can add complexity and behaviour challenges to a lesson, so take some time to think through these before using them in class.
Getting Started
- Start small. Focus on a small cohort, maybe an after-school club, until you get up to speed.
- Use the training and support available, there are physical computing courses on TeachComputing.org and help is available from your hub
- Choose a device and activity based on context, setting and need.
There are five main categories of device, and the most common are listed below:
- Packaged Electronics such as “Snap Circuits” – these require a lot of electronics knowledge and are best suited to DT projects.
- Packaged programmable products: Sphero, Bee-Bot, Lego WeDo/Mindstorms and VEX are simple to set up and get you straight to the programming, good for Primary settings.
- Peripheral boards such as the MaKey MaKey connect to a computer to add interactivity, but cannot be unplugged and run standalone. Simple and fun!
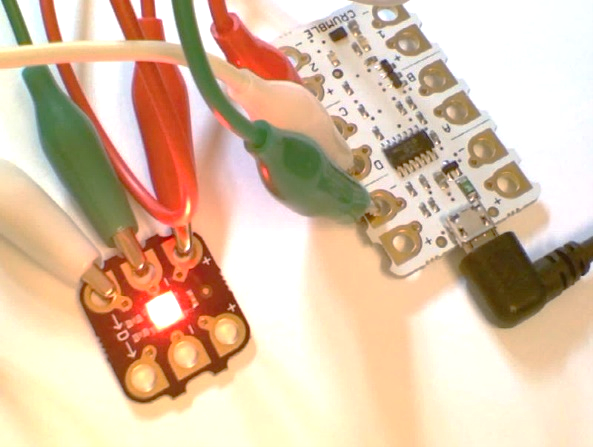
- Embedded boards like the Micro:Bit, Crumble and Raspberry Pi Pico have a microprocessor onboard that you program via a computer, but they then run the program independently, so can be disconnected. Use these to control buggies, create musical instruments, name badges and weather stations…
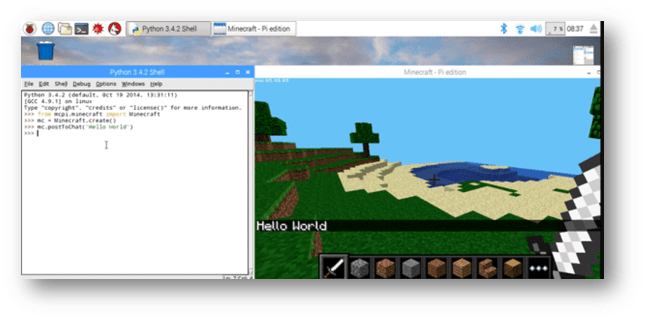
- General purpose boards like the Raspberry Pi 3, 4, Zero W and W2 are actually whole computers that run a full Linux-based GUI operating system. You connect one to a monitor, mouse and keyboard and use it like a computer, but it has lots of interfaces for connecting electronic equipment. You can do almost anything with a Pi, but the learning curve is steeper than the above devices. They run Scratch, Sonic Pi and Minecraft with a Python interface, so you can write “mods”, or connect a camera to make a digital photobooth, the possibilities are limitless!
Next steps
- Book onto some Physical Computing CPD at teachcomputing.org/courses
- Choose a device and an activity – see the teachcomputing.org/curriculum or the Raspberry Pi projects website: projects.raspberrypi.org
- Contact a nearby Computing Hub to request a loan of a physical computing kit
- Try it out in a small group like your own after-school club, a Code Club or Coder Dojo, then introduce to your classes!
This blog was based on material from the NCCE. Visit blog.teachcomputing.org/quick-read-physical-computing to find out more about physical computing, or read the other principles at teachcomputing.org/pedagogy. And subscribe to Hello World to read much more about computing pedagogy every two months: helloworld.raspberrypi.org.
And if you like this post, remember to thank me with a coffee, and then go and buy one of my books, “How to Teach Computer Science” is packed with teaching ideas like this. Thanks!


You must be logged in to post a comment.